It's a common misconception among app developers that incorporating machine learning (ML) into any app is difficult. It's a lot easier to incorporate machine learning into your apps now, thanks to recent advances in ML technologies, even if you don't have any prior experience in the subject.
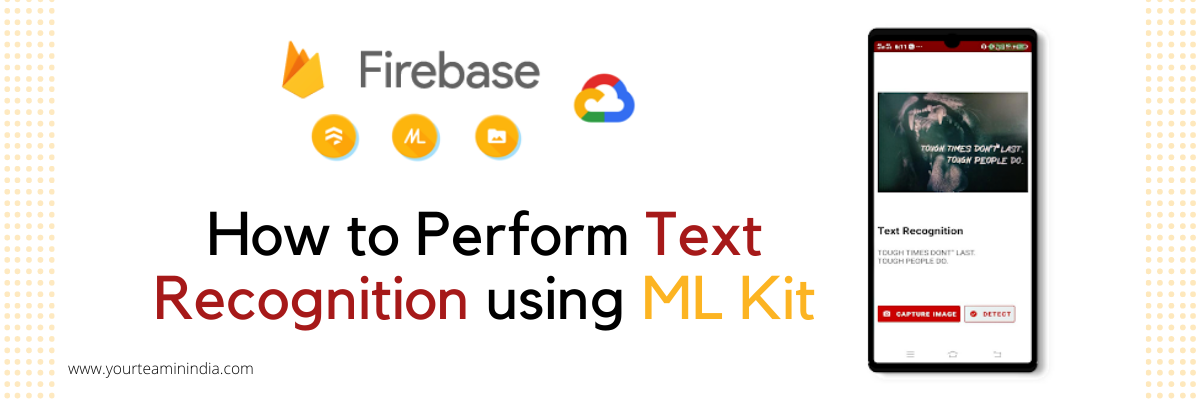
With platforms and development tools like Fritz AI and Firebase's ML Kit, incorporating machine learning into your mobile app development toolset is becoming simpler. By packaging pre-trained machine learning models for usage, these tools hide technological complexity. You may also train and import your own models with them. So, in this blog, we will be exploring how to perform text recognition in Flutter using Firebase’s ML Kit.
Introduction to Firebase ML Kit
Google's ML Kit SDK is a relatively new product that was introduced in 2018. ML Kit is a software development kit that makes it easier for developers to include machine learning models into mobile apps. In addition, even a junior developer may complete this task. The ML Kit mobile SDK is a powerful yet simple-to-use package that brings Google's machine learning capabilities to Android and iOS apps. You can obtain the functionality you need with only a few lines of code, whether you're new to machine learning or a seasoned veteran. You don't need much expertise with neural networks or model optimization to get started.
ML Kit makes it easy to apply machine learner methods on your applications by integrating Google's ML technology, including the Google Cloud Vision API, TensorFlow Lite, and Android Neural Networks API in a single SDK. Just a few lines of code allow you to obtain the power of cloud-based processing, mobile on-device optimized models or the flexibility of customized TensorFlow Lite models in real-time.
Benefits of using Firebase ML Kit

Here are some benefits of using Firebase ML Kit:
- It is Production-Ready for common use cases
ML Kit provides a collection of ready-to-use APIs for typical mobile use cases, including text recognition, face detection, landmark identification, barcode scanning, picture labelling, and text language identification. Simply input data into the ML Kit library, and it will provide you with the information you want.
- It features On-device as well as Cloud-based capabilities
The APIs in the ML Kit operates on-device or in the cloud. Its on-device APIs can process your data rapidly and function even if you don't have access to the internet. And cloud-based APIs, on the other hand, take advantage of Google Cloud's machine learning technologies to improve accuracy even more.
Read our other post on What’s New in Flutter 2.2.0 to make it more adaptive?
- It allows for the deployment of custom models
If the APIs provided by ML Kit do not meet your needs, you may always introduce your own TensorFlow Lite models. Simply upload your model to Firebase, and it’ll host and provide it to your app for you. ML Kit works with your own model as an API layer, making it easier to execute and utilize.
How to Perform Text Recognition using ML Kit
To make use of all Firebase Machine Learning has to offer, you must first create a Firebase project in the Firebase console. So, create a Firebase Project, connect it with Flutter, and simultaneously add a dependency for Flutter ML Kit in Firebase. As we move past this, we will use the ML Kit addition in the Firebase to recognize text.
- Step:1 – Set up Firebase for the Project on Android/iOS
First, you need to create a new Firebase Project on either the Android or iOS Platform.
Click on Add Project to create the new project and enter the project name. Now, Firebase Console will create a new project in the Dashboard.
- Step:2 –Provide App Description
We will be building a Flutter app containing two different screens, i.e., CameraScreen (to show camera view and click pictures) and a DetailScreen (to show recognized text details from the image).
- Step:3 – Give access to the device camera
To let your Flutter app use the device camera, you need to add a separate plugin to the app. This will allow for retrieval of all camera data available as well as access to it.
Add plugin to your pubspec.yaml file:
camera: ^0.5.7+4
Replace the demo counter app code available in main.dart file with the code given here:
import 'package:flutter/material.dart';
import 'package:camera/camera.dart';
// Global variable for storing the list of
// cameras available
List<CameraDescription> cameras = [];
Future<void> main() async {
try {
WidgetsFlutterBinding.ensureInitialized();
// Retrieve the device cameras
cameras = await availableCameras();
} on CameraException catch (e) {
print(e);
}
runApp(MyApp());
}
class MyApp extends StatelessWidget {
@override
Widget build(BuildContext context) {
return MaterialApp(
title: 'ML Vision',
theme: ThemeData(
primarySwatch: Colors.blue,
),
home: CameraScreen(),
);
}
}
Now, define CameraScreen that will let you see the button for clicking images and see the camera preview.
class CameraScreen extends StatefulWidget {
@override
_CameraScreenState createState() => _CameraScreenState();
}
class _CameraScreenState extends State<CameraScreen> {
@override
Widget build(BuildContext context) {
return Scaffold(
appBar: AppBar(
title: Text('ML Vision'),
),
body: Container(),
);
}
}
- Create CameraControll object
// Inside _CameraScreenState class
CameraController _controller;
Check out here how to create Video-Streaming App with Flutter (Using MUX)
- Now, initialize the _controller inside the initState() method
@override
void initState() {
super.initState();
_controller = CameraController(cameras[0], ResolutionPreset.medium);
_controller.initialize().then((_) {
if (!mounted) {
return;
}
setState(() {});
});
}
There are two parameters, which are required by CameraController()
- CameraDescription to pass which device camera are you trying to access, where 1 indicated the front camera and 0 represents the back camera.
- ResolutionPreset to pass the quality of the resolution of the images captured with the camera.
- Dispose the _controller
@override
void dispose() {
_controller.dispose();
super.dispose();
}
- Now, you will need to define the method _takePicture(), which allows you to take pictures and save them in the file system. it will return the path of the stored image file. So, now you will need two new plugins in the pubspec.yaml file.
path_provider: ^1.6.7
intl: ^0.16.1
- Path_provider is for retrieving paths from the file system
- intl helps in formatting the time and date
import 'dart:io';
import 'package:intl/intl.dart';
import 'package:path_provider/path_provider.dart';
// ...
Future<String> _takePicture() async {
// Checking whether the controller is initialized
if (!_controller.value.isInitialized) {
print("Controller is not initialized");
return null;
}
// Formatting Date and Time
String dateTime = DateFormat.yMMMd()
.addPattern('-')
.add_Hms()
.format(DateTime.now())
.toString();
String formattedDateTime = dateTime.replaceAll(' ', '');
print("Formatted: $formattedDateTime");
// Retrieving the path for saving an image
final Directory appDocDir = await getApplicationDocumentsDirectory();
final String visionDir = '${appDocDir.path}/Photos/Vision\ Images';
await Directory(visionDir).create(recursive: true);
final String imagePath = '$visionDir/image_$formattedDateTime.jpg';
// Checking whether the picture is being taken
// to prevent execution of the function again
// if previous execution has not ended
if (_controller.value.isTakingPicture) {
print("Processing is in progress...");
return null;
}
try {
// Captures the image and saves it to the
// provided path
await _controller.takePicture(imagePath);
} on CameraException catch (e) {
print("Camera Exception: $e");
return null;
}
return imagePath;
}
- In this step, we will build UI of the CameraScreen, where UI comprises of a Stack with preview. Also, there is a button to click for capturing images. you will be navigated to DetailScreen.
@override
Widget build(BuildContext context) {
return Scaffold(
appBar: AppBar(
title: Text('ML Vision'),
),
body: _controller.value.isInitialized
? Stack(
children: <Widget>[
CameraPreview(_controller),
Padding(
padding: const EdgeInsets.all(20.0),
child: Container(
alignment: Alignment.bottomCenter,
child: RaisedButton.icon(
icon: Icon(Icons.camera),
label: Text("Click"),
onPressed: () async {
await _takePicture().then((String path) {
if (path != null) {
Navigator.push(
context,
MaterialPageRoute(
builder: (context) => DetailScreen(path),
),
);
}
});
},
),
),
)
],
)
: Container(
color: Colors.black,
child: Center(
child: CircularProgressIndicator(),
),
),
);
}
- Step:4 – Add the Firebase ML Kit into the App
As in the previous step, the camera is added to your app. So, now you have to analyze the input given by the camera, and that’s all this is about. So, import the Firebase ML Vision library to your app and define the image retrieval size and text recognition parameters.
firebase_ml_vision: ^0.9.3+8
// Inside image_detail.dart file
Now, you will have to pass the path of the image file to the DetailScreen. here is the DetailScreen basic structure:
import 'package:flutter/material.dart';
import 'package:firebase_ml_vision/firebase_ml_vision.dart';
import 'dart:io';
import 'dart:ui';
import 'dart:async';
class DetailScreen extends StatefulWidget {
final String imagePath;
DetailScreen(this.imagePath);
@override
_DetailScreenState createState() => new _DetailScreenState(imagePath);
}
class _DetailScreenState extends State<DetailScreen> {
_DetailScreenState(this.path);
final String path;
Size _imageSize;
String recognizedText = "Loading ...";
void _initializeVision() async {
// TODO: Initialize the text recognizer here
}
Future<void> _getImageSize(File imageFile) async {
// TODO: Retrieve the image size here
}
@override
void initState() {
_initializeVision();
super.initState();
}
@override
Widget build(BuildContext context) {
return Scaffold(
appBar: AppBar(
title: Text("Image Details"),
),
body: Container(),
);
}
}
- Step:5 – Develop the UI for the app
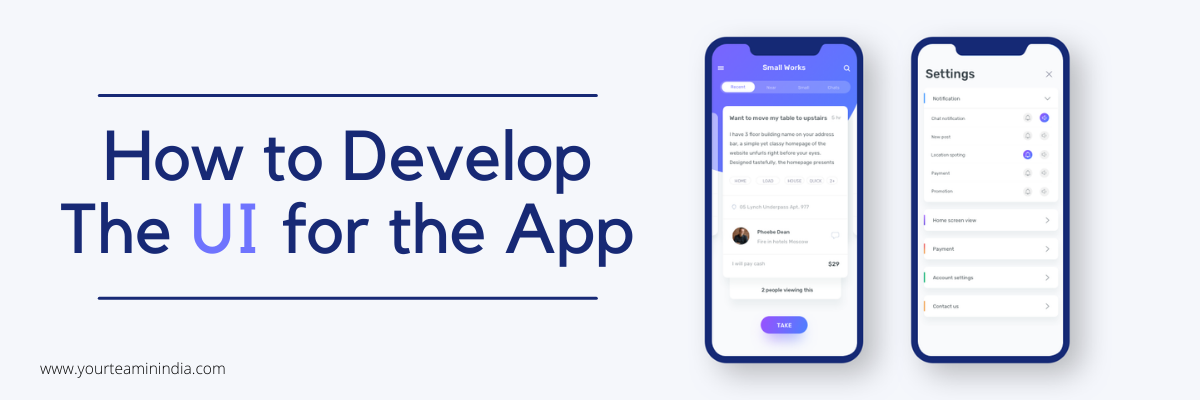
As you would have completed the definition of the CameraScreen, we will now work on building the UI for DetailScreen. So, for this, you need to stack two different widgets into your app, i.e., one for displaying the image and the other for showing the text extracted.
override
Widget build(BuildContext context) {
return Scaffold(
appBar: AppBar(
title: Text("Image Details"),
),
body: _imageSize != null
? Stack(
children: <Widget>[
Center(
child: Container(
width: double.maxFinite,
color: Colors.black,
child: AspectRatio(
aspectRatio: _imageSize.aspectRatio,
child: Image.file(
File(path),
),
),
),
),
Align(
alignment: Alignment.bottomCenter,
child: Card(
elevation: 8,
color: Colors.white,
child: Padding(
padding: const EdgeInsets.all(16.0),
child: Column(
mainAxisSize: MainAxisSize.min,
crossAxisAlignment: CrossAxisAlignment.start,
children: <Widget>[
Row(),
Padding(
padding: const EdgeInsets.only(bottom: 8.0),
child: Text(
"Identified emails",
style: TextStyle(
fontSize: 20,
fontWeight: FontWeight.bold,
),
),
),
Container(
height: 60,
child: SingleChildScrollView(
child: Text(
recognizedText,
),
),
),
],
),
),
),
),
],
)
: Container(
color: Colors.black,
child: Center(
child: CircularProgressIndicator(),
),
),
);
}
- Step:6 (Optional) – Inserting markings into the images
As a final step, you have already configured the main parts of your application, i.e., analyzing pictures and recognizing text. Now, an optional step allows you to mark the text you captured in the image itself. For this, you need to add a CustomPaint object into your app to mark the images.
- Step:7 – Running the app
The final step is to get your app running and configure it correctly according to the specific platform. And, with that, your app is ready to function on the device of your choice.
For this, go to the project directory - Android - App - build.gradle and set the minSDKVersion to 21.
minSdkVersion 21
iOS
Now, you will have to add the following in ios/Runner/Info.plist:
<key>NSCameraUsageDescription</key>
<string>Can I use the camera please?</string>
<key>NSMicrophoneUsageDescription</key>
<string>Can I use the mic please?</string>
For every step involved, add the specific methods to the path and ensure that Firebase ML Vision models are adequately defined.
Conclusion
Using Firebase's ML Kit, you can see how quick and straightforward it is to implement machine learning into your mobile apps. Before putting this app into production, double-check that you have all of the necessary configurations in place using Firebase's checklist. If you decide to utilize the cloud-based API, make sure you have the appropriate API access privileges. This will prevent your application from failing in production.
At your Team in India, we have a team of flutter experts. If you want to hire Flutter developers or have any questions on what all services we offer at Your team in India– Click here to contact us.