This post will talk about a Flutter blog engine that integrates with your website using a straightforward API. Yes, we are talking about Butter CMS, which is highly responsible and chosen for smooth, simple, and tasty content integration for Flutter app development.
Let’s jump directly into knowing a little about Butter CMS, its benefits, and how you can integrate it into your existing website.
Butter CMS - A Headless CMS You’ll Melt Over
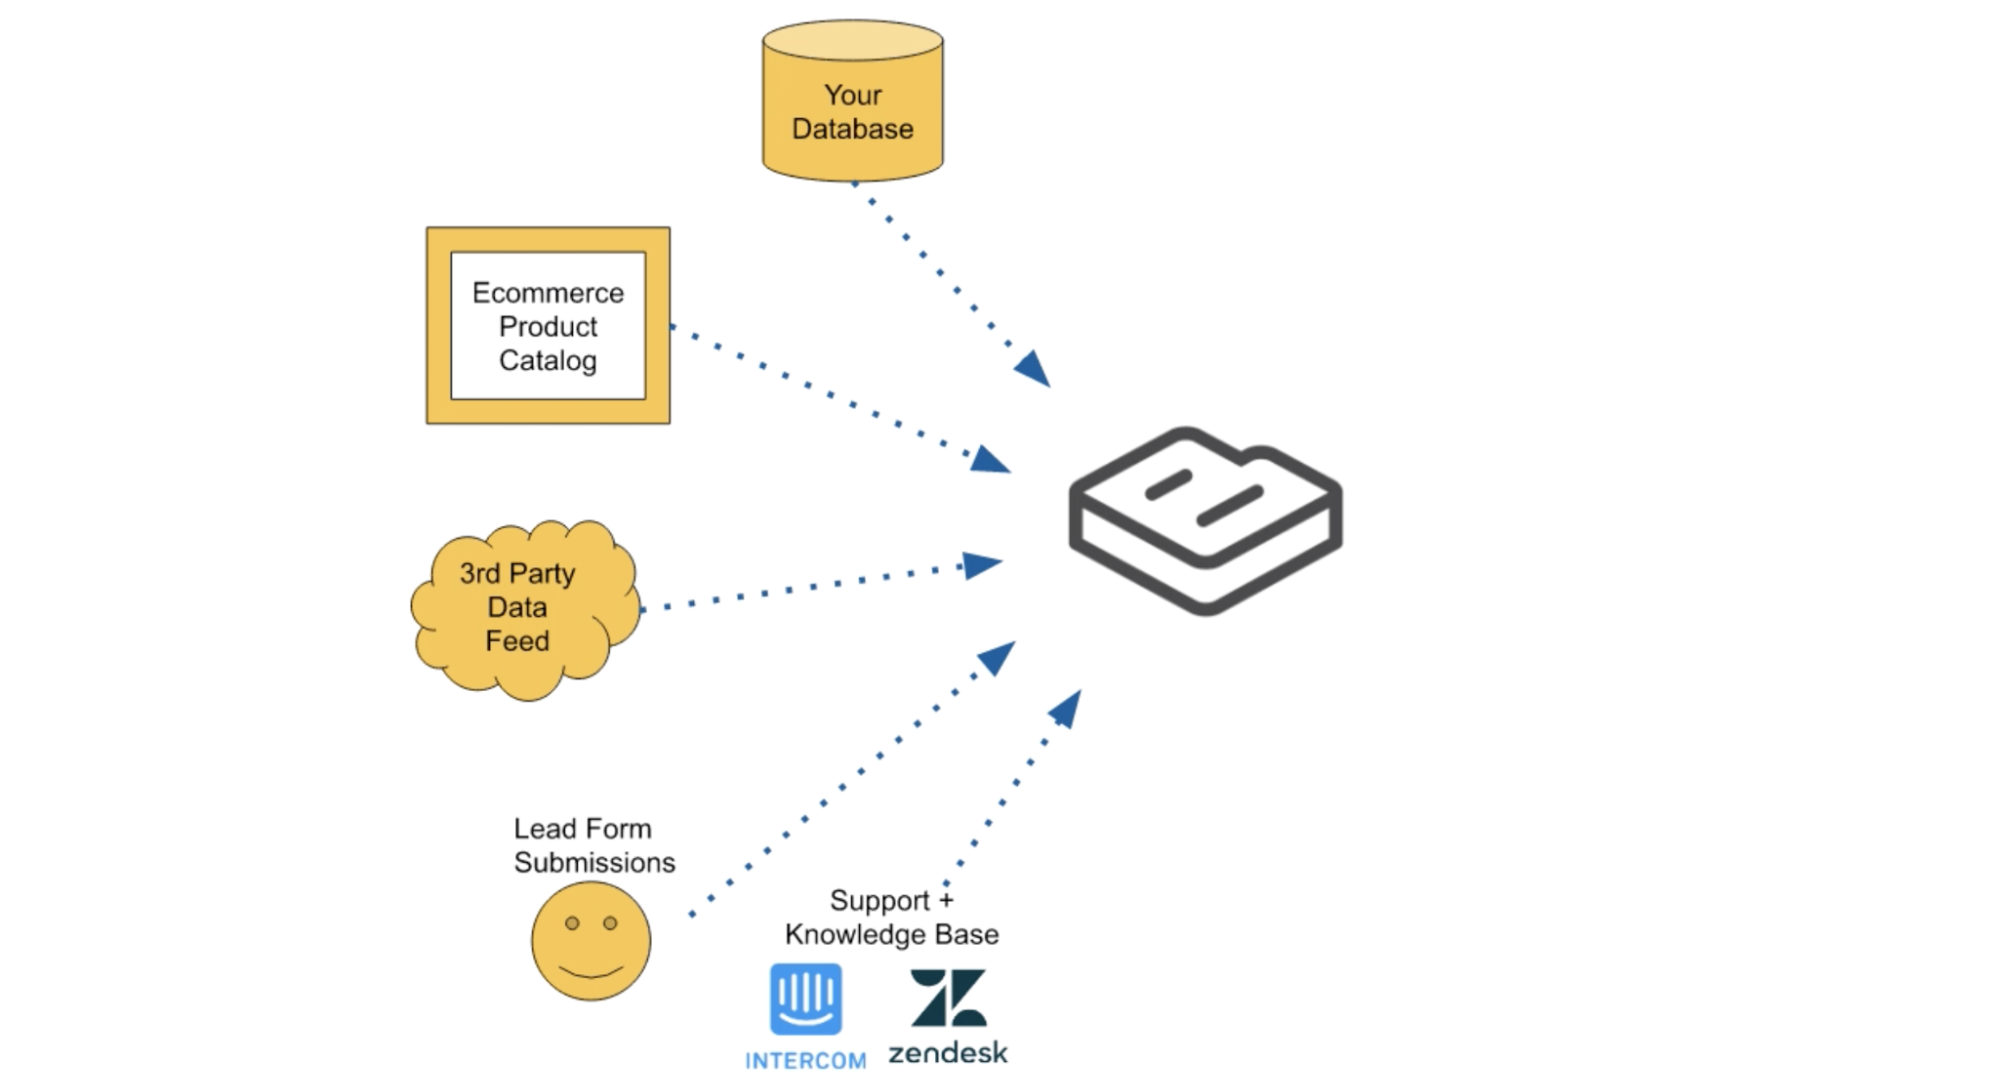
Butter CMS is an API-based CMS and blog engine. It is the headless CMS you’ll melt over, which can easily be integrated into an existing app with any tech stack. Be it any coding framework, libraries, tools, architecture, and programming language; Butter CMS works fine with everything.
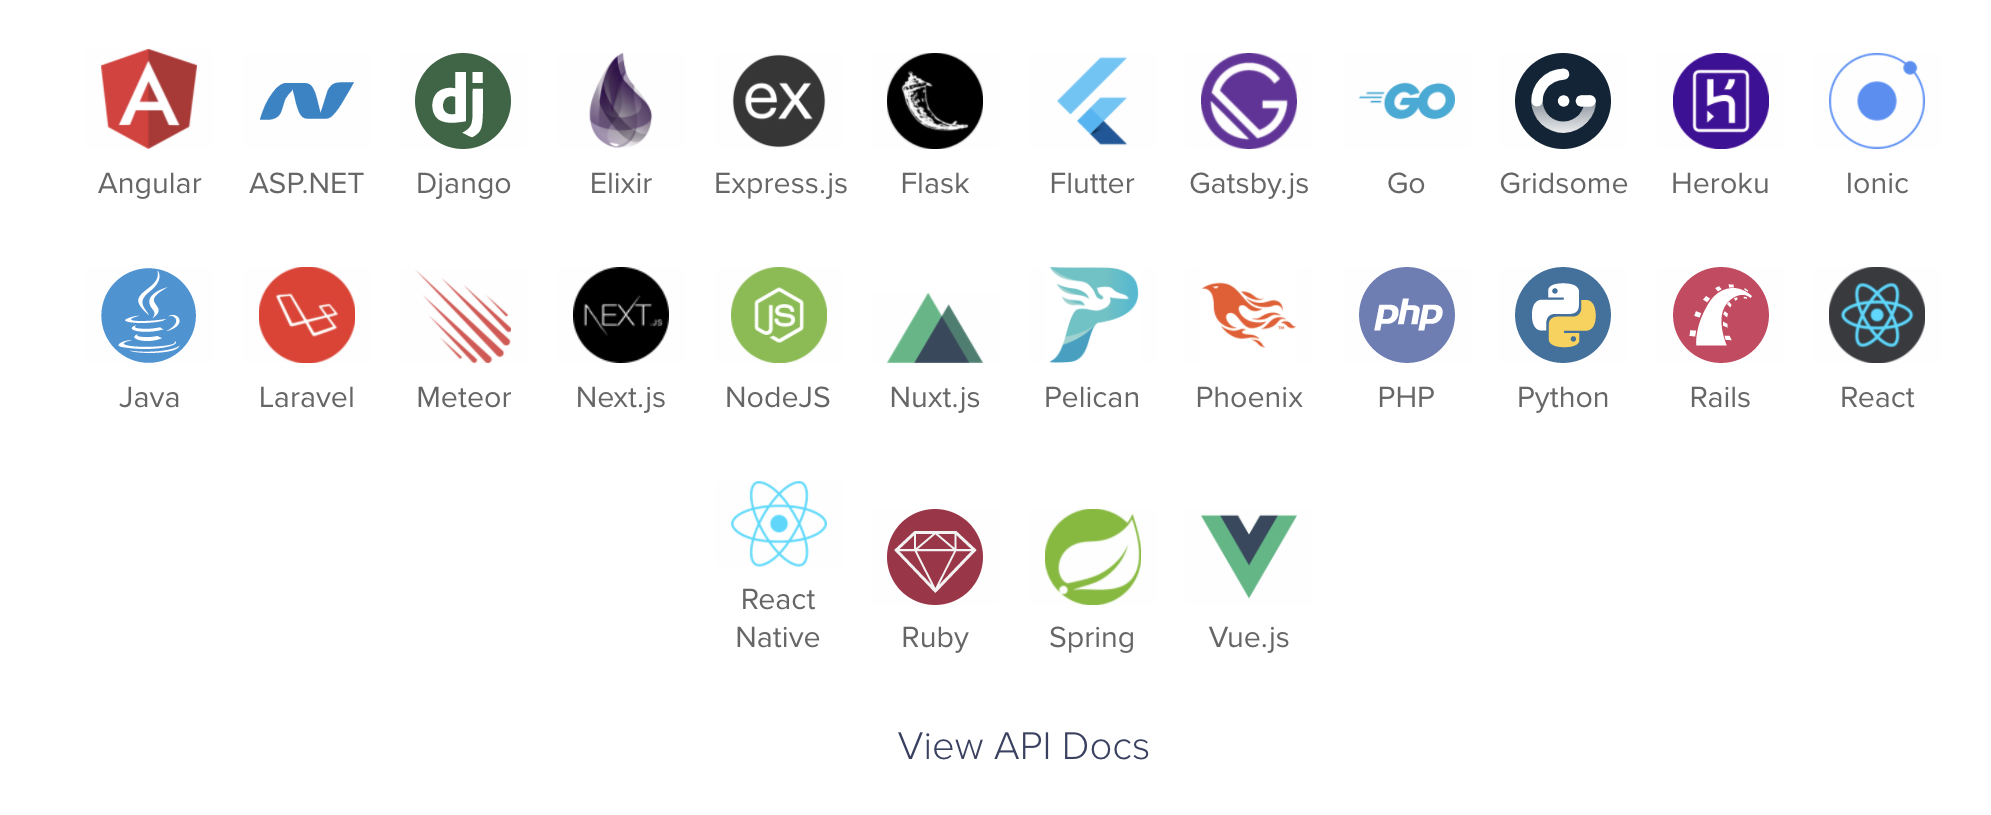
ButterCMS plays nicely with an expanding list of these technologies: Source
“Butter's API slides right into our apps and lets us avoid having yet another WordPress site.” - DANIEL, FOUNDER OF COLLECTIVE IDEA |
Purpose of Integrating ButterCMS into your website?
✅ Less Code
✅ Complements any tech stack
✅ Zero maintenance, no management of scaling or security
✅ Instant CMS backend
✅ Get Content LIVE quickly without fighting for IT resources
✅ A centralized dashboard that manages all content
✅ Launch multi-channel content experiences much quicker
✅ No security patches
✅ Global CDNs for maximum performance
✅ Professional incessant support
Let’s read some more benefits that you get to enjoy with the Butter CMS when integrating into your website. Read Our Other Post to know What is in Flutter to Make it more adaptive.
Benefits of Flutter Blog Engine CMS or Butter CMS
The benefits of Flutter blog engine CMS or Butter CMS are endless. Here are a few most prominent ones:
- No Need to Write HTML Codes
This headless CMS comes with a ‘WYSIWYG editor’ that helps create the web page content without writing HTML codes. It even incorporated built-in SEO and other features, including revision histories, localization, content preview, and post scheduling. Hence, a substantial time-saving in deploying the final product to the market. Flutter developers highly enjoy the ease of creating websites with this butter-like CMS, which is smooth and flows seamlessly.
- Suite of APIs
Butter CMS even supports image and audio hosting, in-browser editing, and media file tagging. In addition, butter CMS is an API-driven CMS with a suite of APIs that helps developers integrate content while focusing on creating an easy-to-use front end for your clients. Hence, it is easy to deliver what your customers need.
- Allows Maximum Flexibility with Control
For maximum control of the users’ activity on the account, Butter CMS allows developers to assign appropriate permissions and roles. You can even experience the workflows section, where team members can easily collaborate and keep track of their entire content marketing schedule.
- Designed to Simplify Content Marketing
Butter CMS is the best flutter blog engine, and it has a reason for being so. Flutter developers can easily design solutions that people love using this CMS. In addition, all content gurus highly appreciate the quick spin-up of high-converting blog templates, related content features, sidebars, and simple drag-and-drop functionality using the API of Butter CMS.
- Lightning Fast Integration with ANY Flutter App
The mission to build Butter CMS was to integrate it with your existing Flutter apps, and that too within minutes. The integration is so simple that even newbie Flutter developers can easily do it. Hence, Butter CMS is highly qualified for lightning-fast integration with any Flutter web application.
- Seamless Flutter Components
Butter CMS is pretty easy to use! You can quickly empower your marketing team to design a highly custom blog engine that perfectly complements the Flutter components of your app/website. This CMS seamlessly handles all the components, which is eventually the building block of any flutter website. In addition, the drag-and-drop features further simplify the entire process, enabling you to structure your content to match existing Flutter components and build new reusable components as and when needed.
- Best Flutter Blog Engine for Search Engine Optimization (SEO)
With Butter CMS, you get complete control over your on-page SEO ranking factors. The default post template has in-built key SEO variables, allowing developers exclusive access to configure settings including page title, post categories & tags, META description, URL slug, image ALT tags, link anchor text, and open graph image.
- Diminished Cost
Butter CMS lets you build a system at an affordable price, as you are not required to invest in the complete setup and use an extensive database, processing software, or search engine to do so. Instead, butter CMS takes care of your budget needs and assures you of quality output with limited pricing.
Integration Setup: How to Integrate Butter CMS into your Flutter Website?
(In this article, we will integrate Butter with Flutter to display the list of books in the app, add them in the book, and it will be from the client-side).
To ensure proper integration of Butter CMS into your website, you have to follow these points. But, first, let’s see how to integrate the CMS well.
Integrating Butter CMS with Flutter
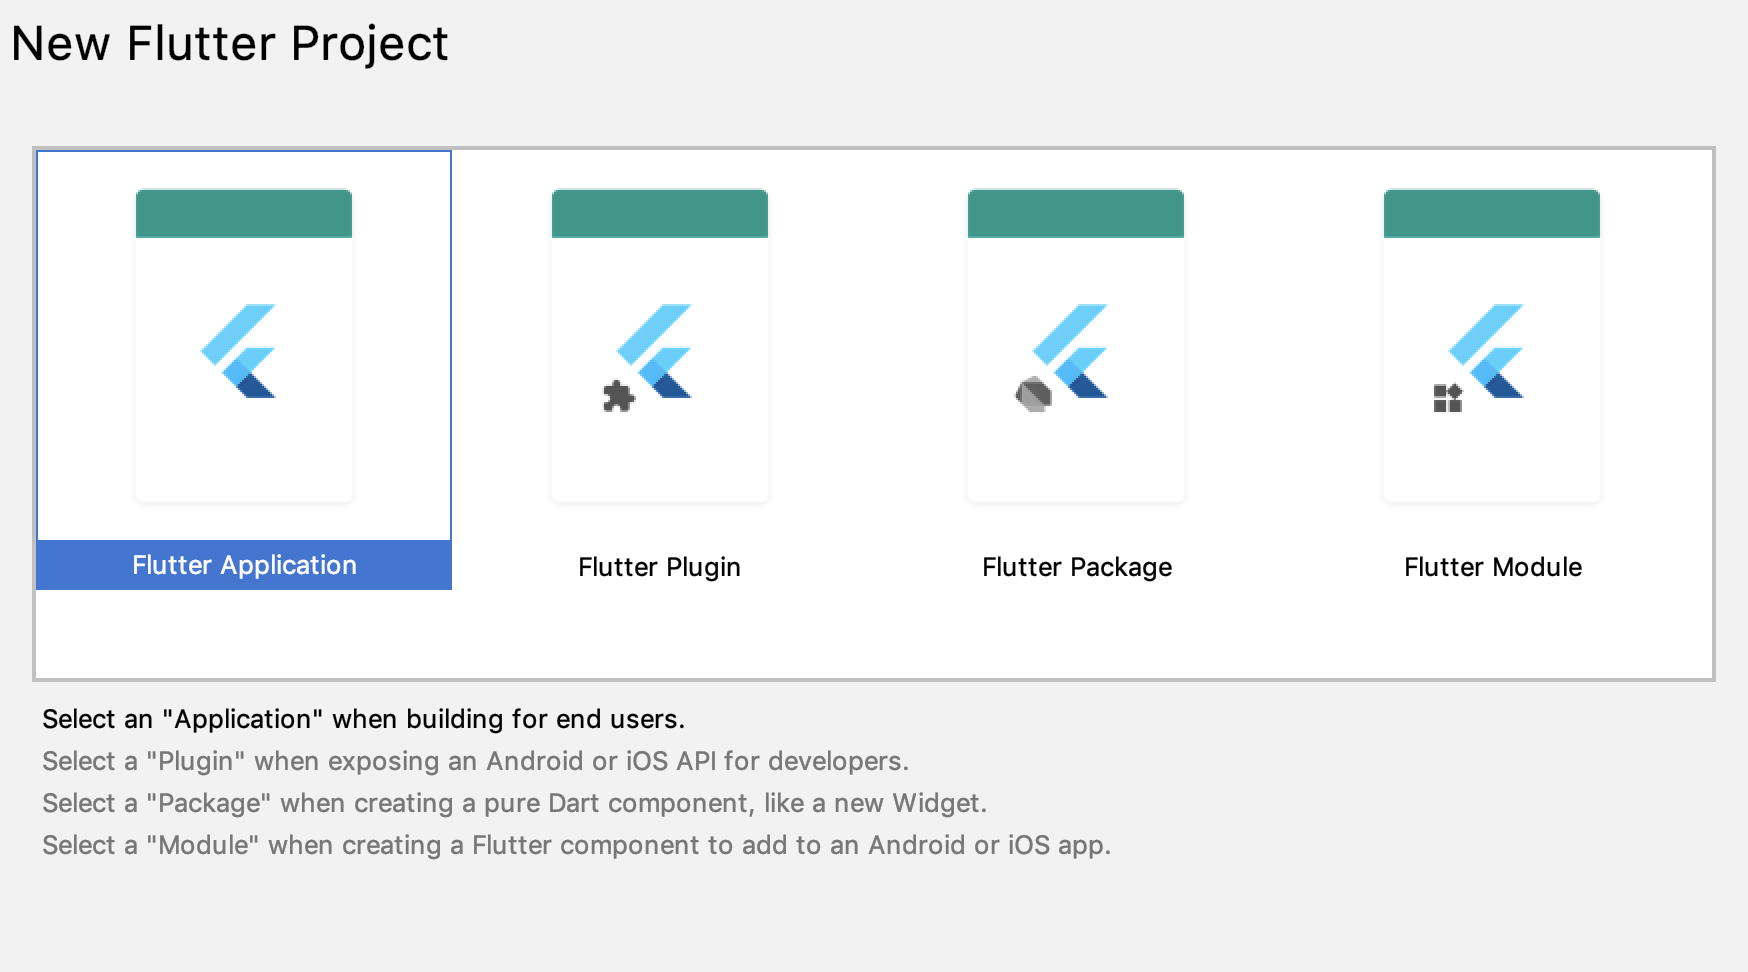
Step 1: Create Flutter Project
Start by creating a new Flutter project from Android studio.
File -> New Flutter Project -> Flutter Application
Step 2: Create JSON Model
After querying the Butter content API, it returns a JSON response in the following format:
{
"data": {
"books": [{
"book_name": "Life Story",
"year_of_publication": "1990"
}, {
"book_name": "The Last Song",
"year_of_publication": "1992"
}, {
"book_name": "Let’s Walk",
"year_of_publication": "1995"
}]
}
}
Here, we need to construct a model class for encoding, decoding, and storing the values retrieved by the API.
// To parse this JSON data, do
//
// final bookData = bookDataFromJson(jsonString);
import 'dart:convert';
BookData bookDataFromJson(String str) => BookData.fromJson(json.decode(str));
String bookDataToJson(BookData data) => json.encode(data.toJson());
class BookData {
Data data;
BookData({
this.data,
});
factory BookData.fromJson(Map<String, dynamic> json) => new BookData(
data: Data.fromJson(json["data"]),
);
Map<String, dynamic> toJson() => {
"data": data.toJson(),
};
}
class Data {
List<Book> books;
Data({
this.books,
});
factory Data.fromJson(Map<String, dynamic> json) => new Data(
books: new List<Book>.from(json["books"].map((x) => Book.fromJson(x))),
);
Map<String, dynamic> toJson() => {
"books": new List<dynamic>.from(books.map((x) => x.toJson())),
};
}
class Book {
String bookName;
String yearOfPublication;
Book({
this.bookName,
this.yearOfPublication,
});
factory Book.fromJson(Map<String, dynamic> json) => new Book(
bookName: json["book_name"],
yearOfPublication: json["year_of_publication"],
);
Map<String, dynamic> toJson() => {
"book_name": bookName,
"year_of_publication": yearOfPublication,
};
}
You will see that it includes absolutely normal data structures, which efficiently store the data and, upon retrieving it, even shows the utilities to parse and encode JSON. At this point, we need to get data from our API.
Step 3: Get Data from API
After getting your model ready, it is time to retrieve the information from the API related to the books.
Your API call would be:
GET https://api.buttercms.com/v2/content/?keys=books&auth_token=YOUR_API_KEY
Hence, we can write a simple Dart function to retrieve it:
Future<BookData> _getBooks() async {
String baseUrl = "https://api.buttercms.com/v2/content/?keys=";
String collection = "books";
//TODO: ENTER API KEY HERE
String authToken = "";
if(authToken == "") {
print("EMPTY API KEY. Please paste API key from ButterCMS console.");
}
Response response =
await get(baseUrl + collection + "&auth_token=" + authToken);
return bookDataFromJson(response.body);
}
Once the function uses HTTP GET call, it will return the BookData object created previously. Now, we will finally see the list of the books listed. We can use a ListView.builder to show the complete list of books.
//Outside build()
BookData bookdata;
//Inside build()
ListView.builder(
itemBuilder: (context, position) {
return ListTile(
leading: Icon(Icons.book),
title: Text(bookData.data.books[position].bookName),
);
},
itemCount: bookData.data.books.length,
)
Once you have run this code, you will see the list of ListTiles and populates them with the results fields.
You can easily retrieve the API data now. Since the integration process is similar for all the platforms, including iOS and Android, you can easily integrate Butter CMS into Flutter using this code. You can quickly get data and add your collection of items.
Step 4: Using CMS to Administer the Content
Generally, we will add books from a particular device rather than from the console. For that, we will need to use ‘Write API’ for uploading the book. Butter CMS even offers a ‘POST’ request to add a new item into the collection. You can get that Write Key from the Butter support, and don’t forget to keep this key as secure as you can.
curl -X POST \
https://api.buttercms.com/v2/posts/ \
-H 'Authorization: Token your_write_api_token' \
-H 'Content-Type: application/json' \
-d '{
"key": "collection_api_slug",
"status": "published",
"fields": [
{
"field1_key": "Field value",
"field2_key": "Field value"
},
...
]
}'
A JSON model will be constructed for the body (where a collection of items is kept).
- Create JSON Model
Create JSON object for specific POST request body:
// To parse this JSON data, do
//
// final bookPostBody = bookPostBodyFromJson(jsonString);
import 'dart:convert';
BookPostBody bookPostBodyFromJson(String str) => BookPostBody.fromJson(json.decode(str));
String bookPostBodyToJson(BookPostBody data) => json.encode(data.toJson());
class BookPostBody {
String key;
String status;
List<Field> fields;
BookPostBody({
this.key,
this.status,
this.fields,
});
factory BookPostBody.fromJson(Map<String, dynamic> json) => new BookPostBody(
key: json["key"],
status: json["status"],
fields: new List<Field>.from(json["fields"].map((x) => Field.fromJson(x))),
);
Map<String, dynamic> toJson() => {
"key": key,
"status": status,
"fields": new List<dynamic>.from(fields.map((x) => x.toJson())),
};
}
class Field {
String field1Key;
String field2Key;
Field({
this.field1Key,
this.field2Key,
});
factory Field.fromJson(Map<String, dynamic> json) => new Field(
field1Key: json["field1_key"],
field2Key: json["field2_key"],
);
Map<String, dynamic> toJson() => {
"field1_key": field1Key,
"field2_key": field2Key,
};
}
- Accept Fields and Upload Values
Now to accept the fields from the user using the app, where the items will be uploaded to the collection, we need to construct a simple UI that incorporates two fields, including the TextFields and a Button to upload the information.
// Outside build()
TextEditingController nameController = TextEditingController();
TextEditingController yearController = TextEditingController();
// Inside build()
Column(
children: <Widget>[
Padding(
padding: const EdgeInsets.all(8.0),
child: TextField(
controller: nameController,
decoration: InputDecoration(labelText: "Book Name"),
),
),
Padding(
padding: const EdgeInsets.all(8.0),
child: TextField(
controller: yearController,
decoration: InputDecoration(labelText: "Book Publication Year"),
),
),
Padding(
padding: const EdgeInsets.all(8.0),
child: FlatButton(
onPressed: () {
_uploadDetails(nameController.text.toString(),
yearController.text.toString());
},
child: Padding(
padding: const EdgeInsets.all(8.0),
child: Text(
"Upload",
style: TextStyle(color: Colors.white),
),
),
color: Colors.blue,
),
),
],
)
After creating these two fields, we are left with just one thing, i.e., creating the function so that the values are uploaded that we get from the user.
void _uploadDetails(String name, String year) async {
String baseUrl = "https://api.buttercms.com/v2/posts";
String collection = "books";
// TODO: ENTER WRITE TOKEN HERE
// THIS IS SEPARATE FROM NORMAL API KEY TO READ DATA
String authToken = "";
Response r = await post(
baseUrl,
headers: {'Authorization': authToken, 'Content-Type': 'application/json'},
body: bookPostBodyToJson(
BookPostBody(
key: collection,
status: "published",
fields: [Field(field1Key: name, field2Key: year)],
),
),
);
}
You will need to get the ‘WRITE Key’ from Butter support here, which is not the same as the one we were using earlier. Also, just like getting the content from the Collections API, we can set up blog posts on our website. The process will be the same.
In case you want to retrieve call for blog posts, here’s what you need to do:
GET 'https://api.buttercms.com/v2/posts/?page=1&page_size=10&auth_token=your_api_token'
That’s it, folks! You have now successfully integrated the Butter CMS and created your first post as well.
Well done on all your efforts there! ??
Butter CMS is Worth Melting Over
The web is constantly evolving where integration and maintainability are huge concerns. Since we need to address it efficiently, we need a reliable, affordable, and seamless CMS like Butter for our Flutter for web apps, which gives us no pain getting integrated with the existing Flutter website/app.
- Wrapping it up, we can say that CMS integration must:
- Allow you easy integration
- Reduce the overall cost of change
- Give you the freedom to choose the tech stack, and
- Help your existing site grow and glow
Butter CMS can do exactly all of that without hurting your site, time, and cost. Hence, we highly recommend you hire flutter developers to integrate Butter CMS into your existing site when going for Flutter app development for optimum success.
At Your Team In India, we have a pool of certified engineers. Need help setting up a dedicated team of developers in India? Connect with us our business head now and get a free consultation.